

Create, post, and send a customer invoice
Quick summary: Review the draft, confirm it to post the accounting entry, then send the correct document to the customer.
Before confirming
Section titled “Before confirming”Use the invoice created from the sales order when the sale is managed there. Creating an unrelated invoice can leave the order showing an uninvoiced amount. Create a standalone invoice only for a sale that should be billed independently.
Confirmation affects the ledger and tax records. Check the company, customer, invoice and delivery dates, currency, payment terms, bank account, taxes, and total before proceeding.
Prepare and send
Section titled “Prepare and send”-
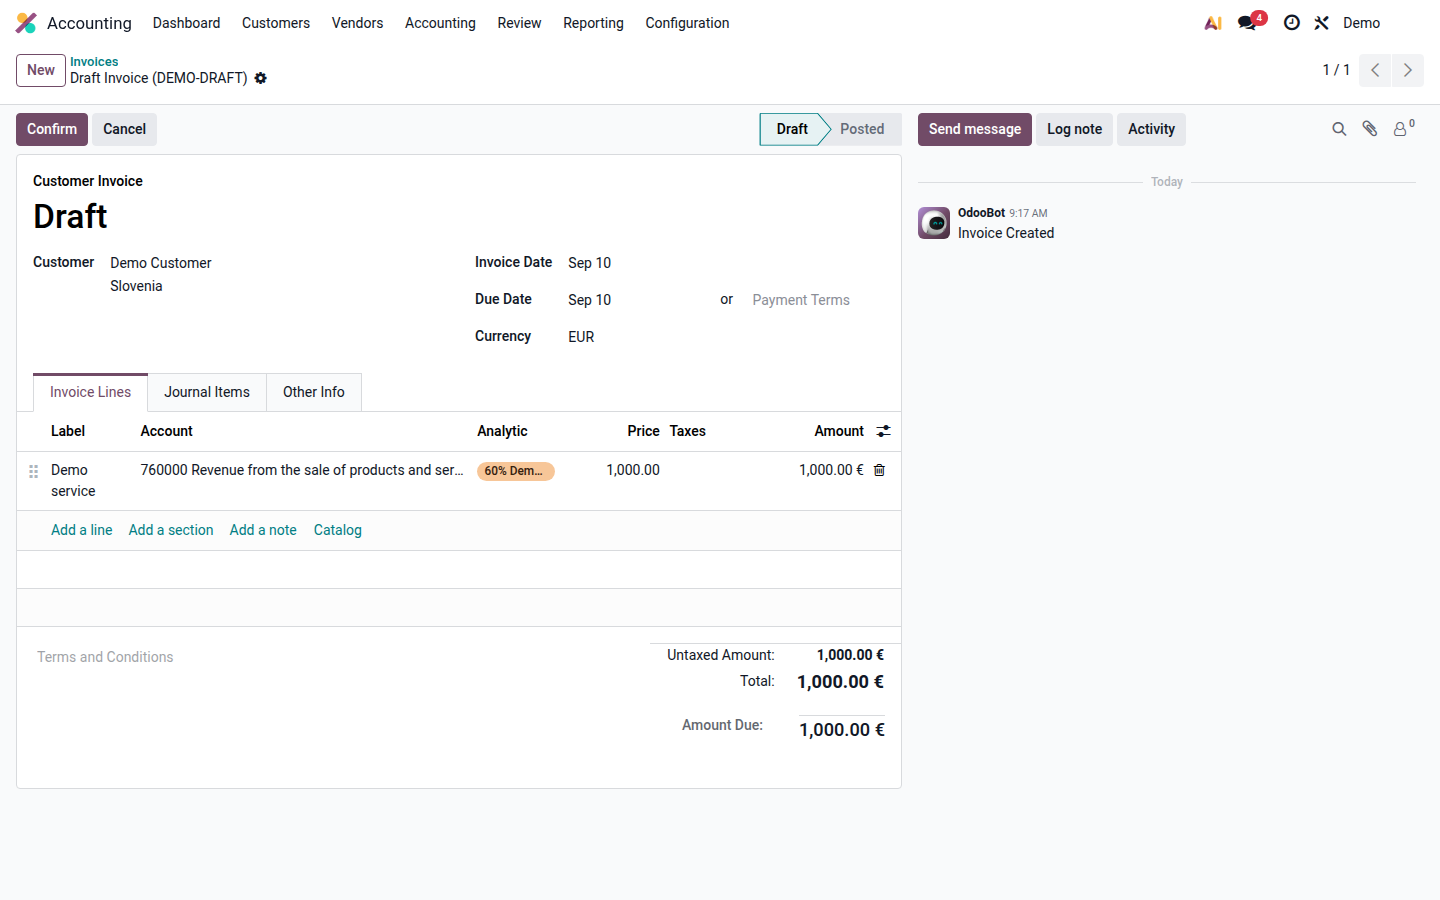
Open the draft invoice from the order, or click New in customer invoices.
-
Select Customer and enter Invoice Date. Review Payment Terms and the calculated due date.
-
In Invoice Lines, add or review products, descriptions, quantities, prices, and taxes. Do not replace an unexpected tax manually before checking the tax rules.
-
Review the totals and Journal Items. Resolve warnings and attach supporting documents where needed.
Open image at full size (new tab) -
Click Confirm. The invoice becomes Posted and receives its accounting number.
-
Click Send, verify the recipients, sending method, and attachments, then send. For electronic delivery, follow the Bizbox guide or e-SLOG guide.
-
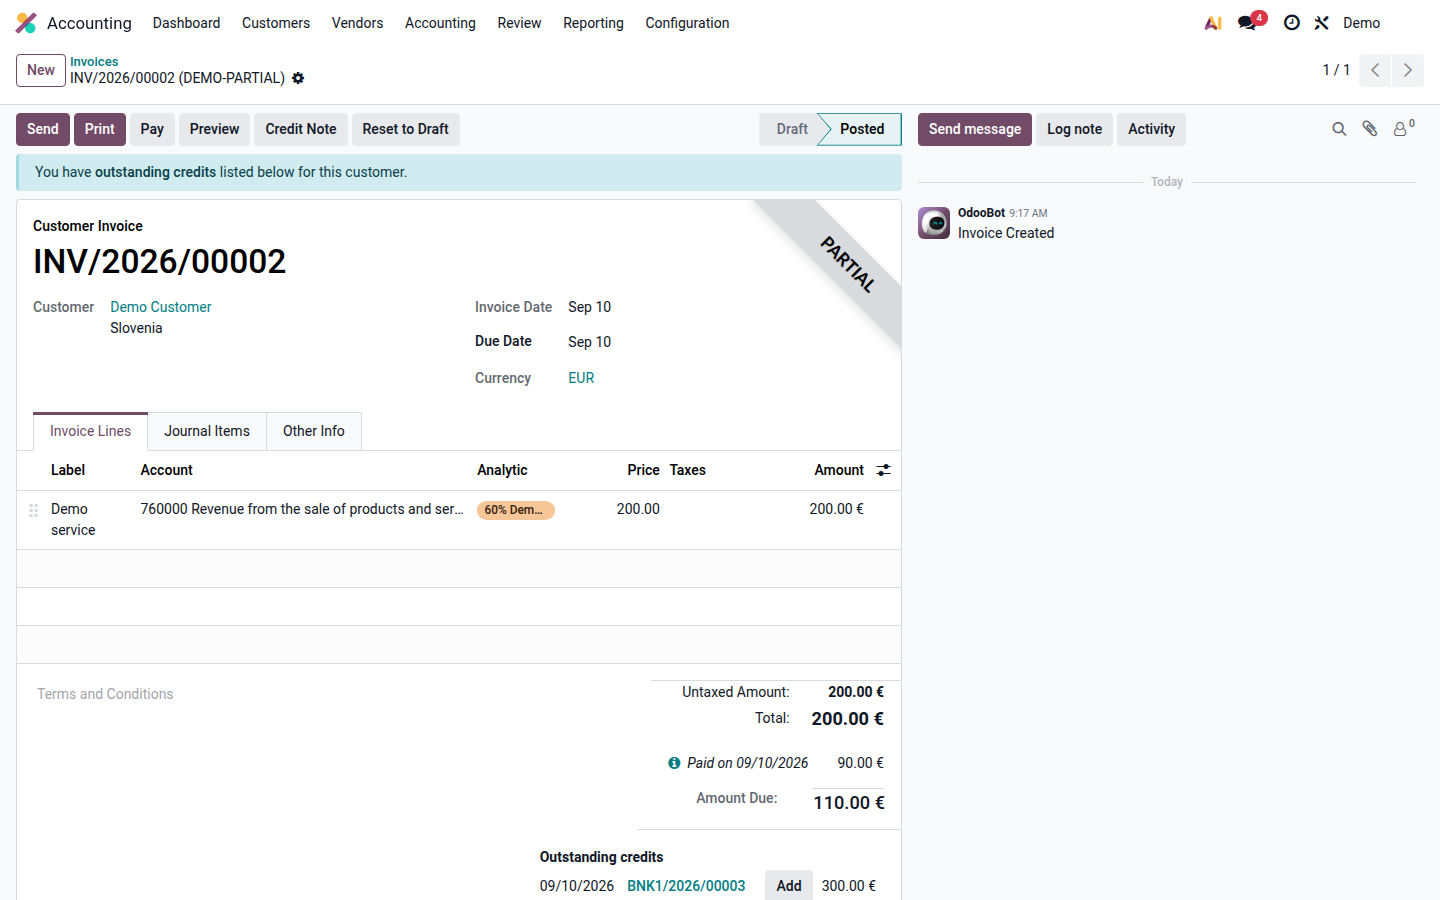
After payment, follow bank reconciliation and check the remaining amount.
Open image at full size (new tab)
Payment-term instalments with the same due date merge into one receivable line. See how to keep instalments separate.
Check the outcome
Section titled “Check the outcome”Posted describes accounting status; Paid, Partial, and In Payment describe payment progress. Sending an invoice does not mark it as paid. Payment behavior also depends on the journal’s configuration.
If fiscal certification is required, check FURS status. Correct an already posted document using the invoice-correction workflow.